Install your SSL Certificate on Microsoft Exchange 2013

Please follow these instructions to install your SSL certificate on Microsoft Exchange 2013.
Using the Exchange Management Console
- Copy your example_domain_name.cer file to the network share folder of your Exchange server. This should be where you saved the CSR
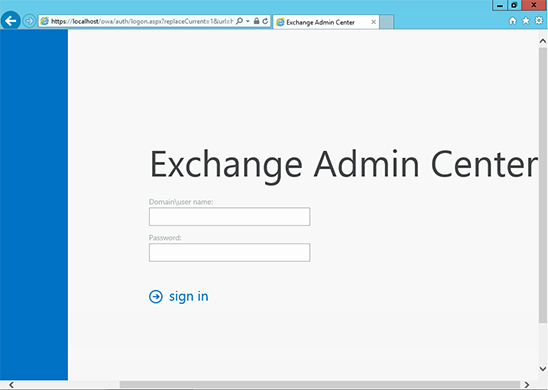
- Visit https://localhost/ecp in your browser to access the Exchange Admin Centre
- Enter your details to login
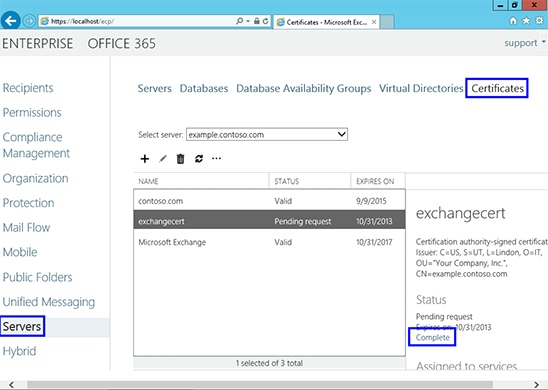
- Follow the Servers link in the left column, then, on your right, click on Certificates
- From the menu select your certificate from its friendly name, then click Complete to the right of the menu
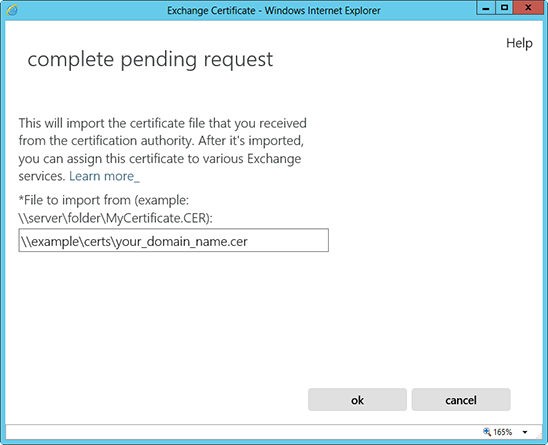
- It needs to locate your certificate file, so enter its network share path - once this is done, the certificate should be installed on the server
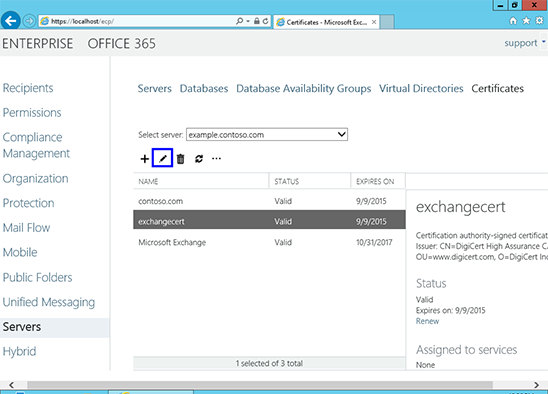
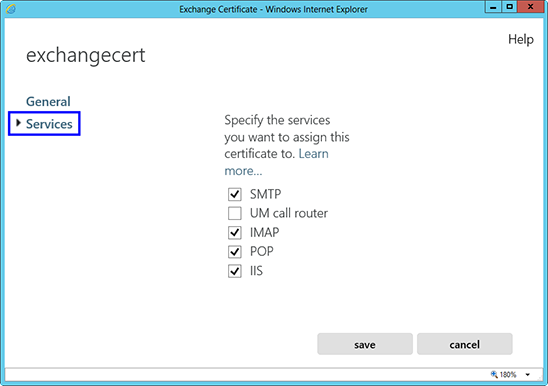
- To enable your certificate, return to the Exchange Admin Center and to the Certificates section. Highlight the relevant certificate and click Edit (the pencil)
- Click Services and then Specify the services you want to assign this certificate to, followed by Save
